Why do we say designing your summer pots is the ultimate weekend project? Well, it’s a fun, quick and EASY way to add something special to your favorite outdoor space. So set out to your favorite garden nursery, grab a pot, potting soil and some plants, and you’ll have a beautiful summer pot in no time!
First, you need a pot.
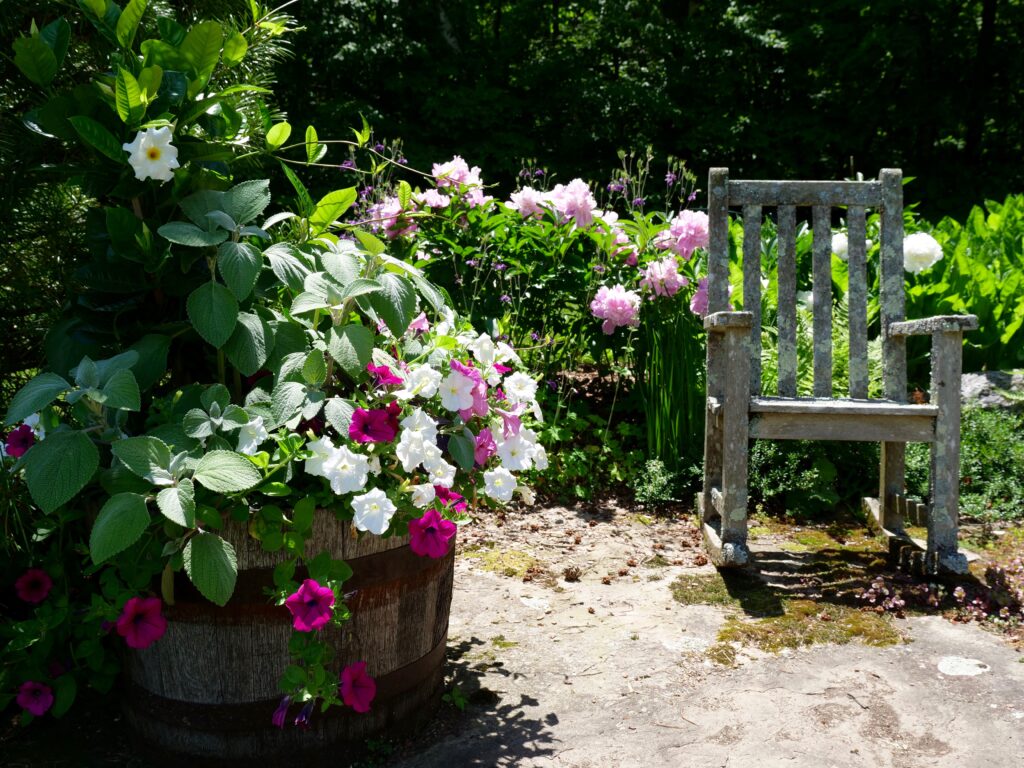
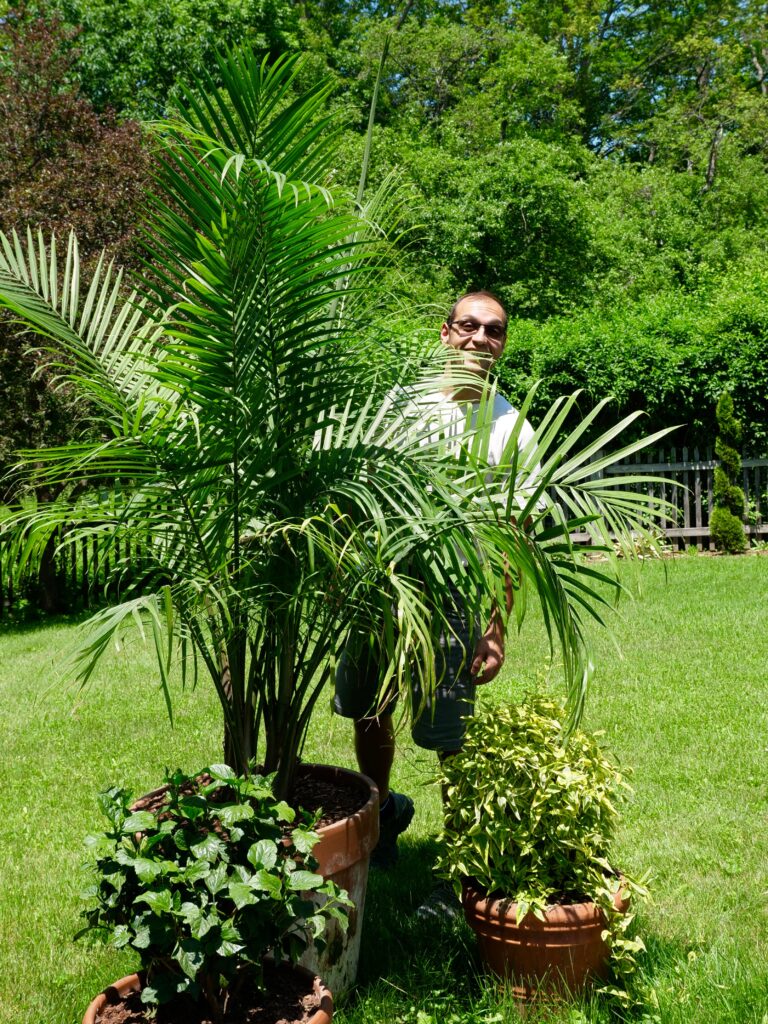
Maybe you have a pot, or a vessel (like the whisky barrel shown above), but if not, you’ll need to pick out something nice to begin your masterpiece!
Consider the area you are placing your pot, and what color, textures, etc. that you think will look great.
You can’t really go wrong with a traditional terra cotta pot, but we also love glazed ceramic pots for extra color! Just make sure it has drainage (holes!) on the bottom.
Next, it's Time to Go Plant-Crazy!
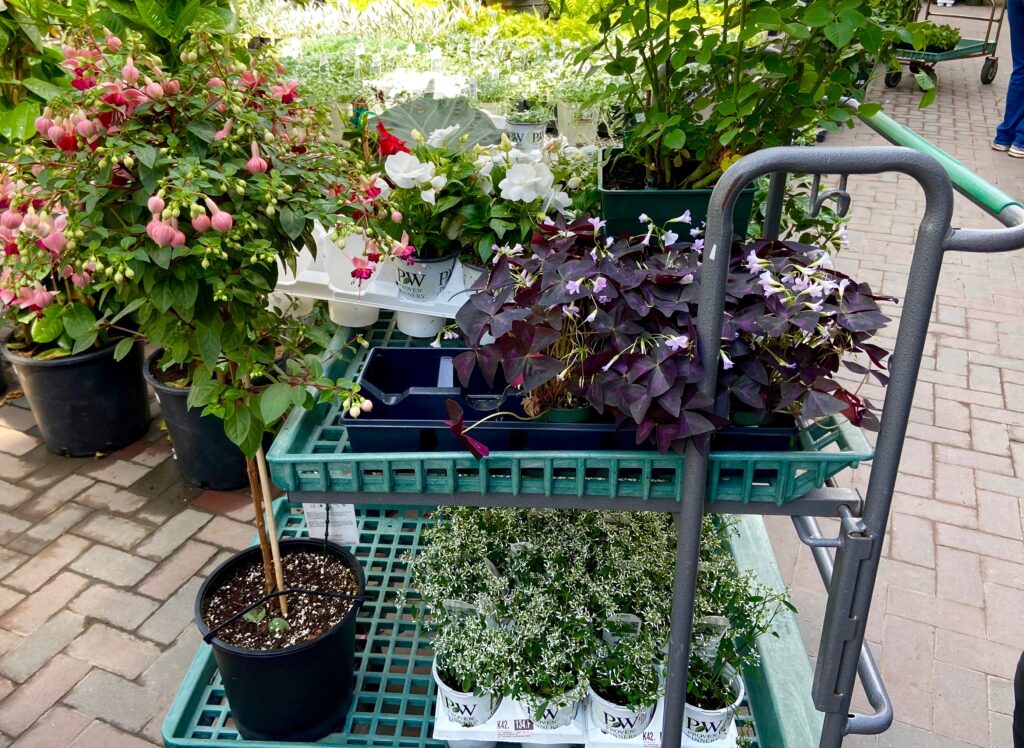
Once you’ve decided, or picked out which pot you’ll be using, you can move on to the FUN PART: picking out plants! You want your pot to be lush and full—but remember that plants also GROW to become more lush & more full over time.
The most important thing when you’re picking out your flowers and plants for your pot?
The SUN EXPOSURE of the pot location.
Location, Location, Location.
The location of your pot is going to be the biggest consideration in terms of what plants you want to buy for your pot. Is your pot blasted with sun all day? Look to full-sun, drought-tolerant plants! Maybe your pot is on a covered porch, or nestled beneath large trees in the shade, in which case you’ll want to select part to full-shade plant varieties.
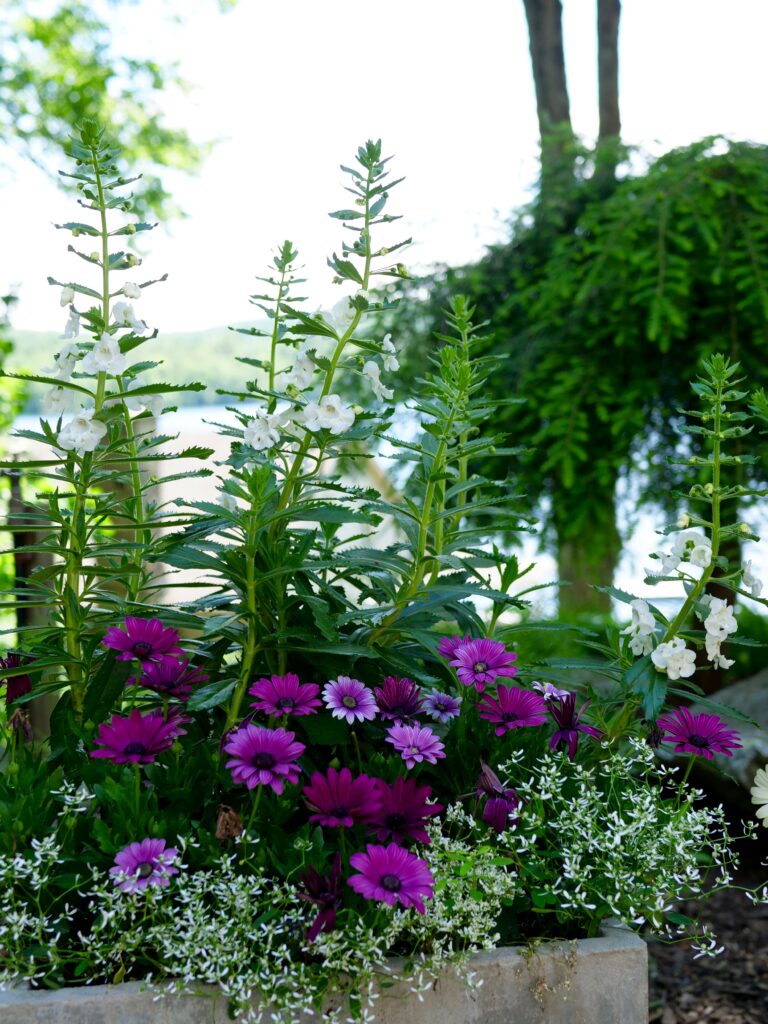
SUN POT!
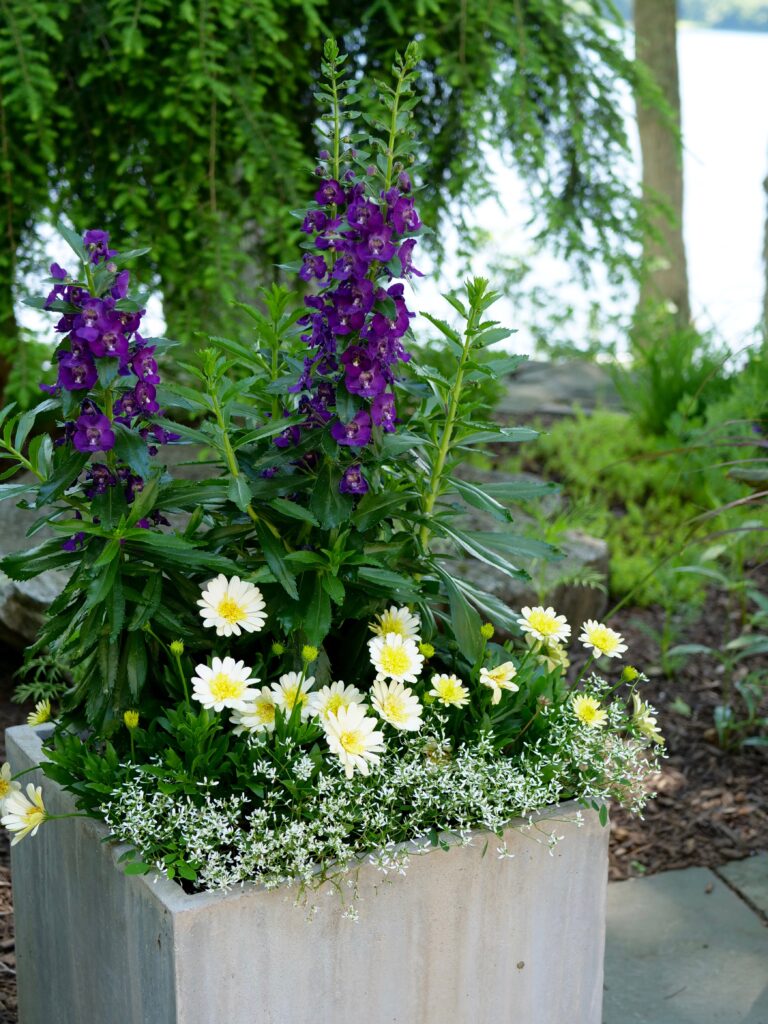
SHADE POT!
Here’s an example (above) of a summer pot in full sun vs. a summer pot in a mostly shaded area. Your pots can still be bright and colorful, no matter the location, you just have to get creative! Make sure to check the plant tags to be sure they match your sun requirements. Not sure where to start? Ask a friendly worker at the nursery to point you in the direction of your respective sun-loving, or shade-loving annuals! Your local nursery employees are definitely the experts at knowing what will grow where—after all it’s their JOB to keep the plants all looking great.
Now it's Time to Design Your Pot
Once you’ve figured out what plants you like, and will also work in your pot location, you can start thinking about the DESIGN—how it’s going to all come together. Luckily, there’s actually a classic formula for designing pots:
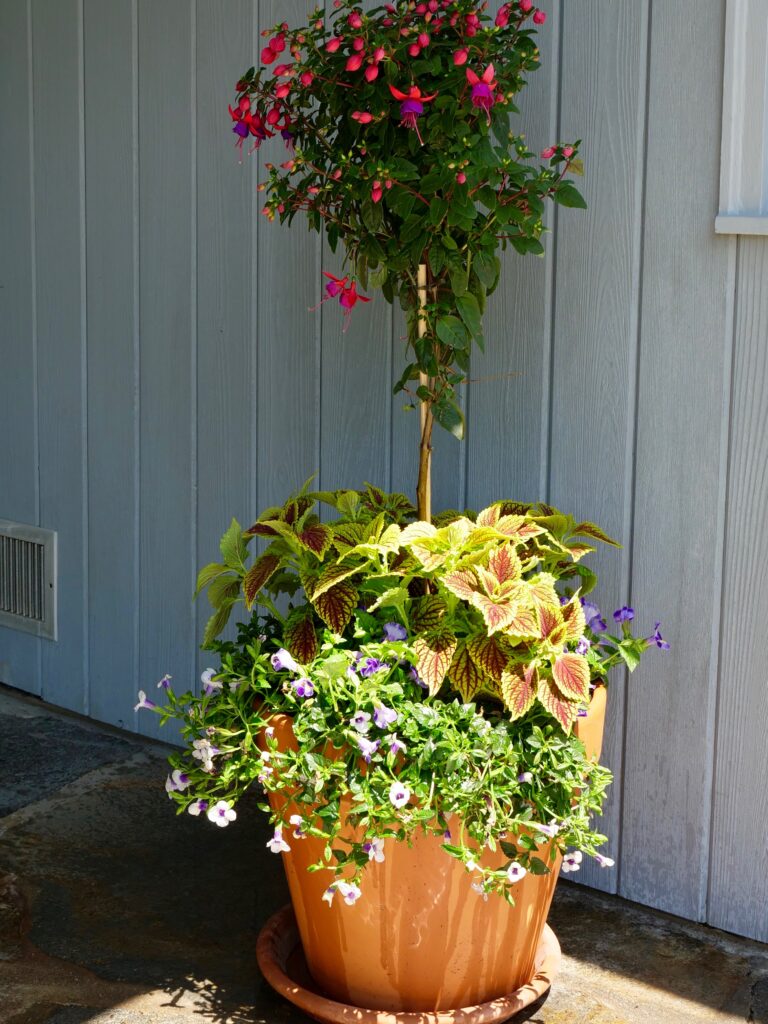
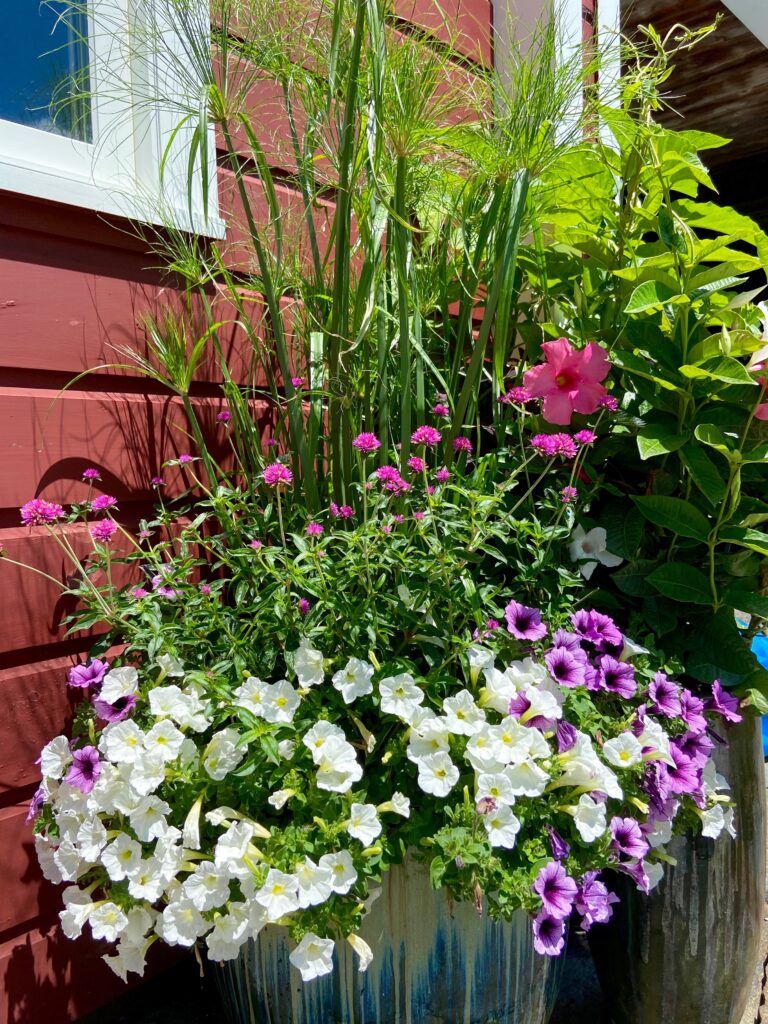
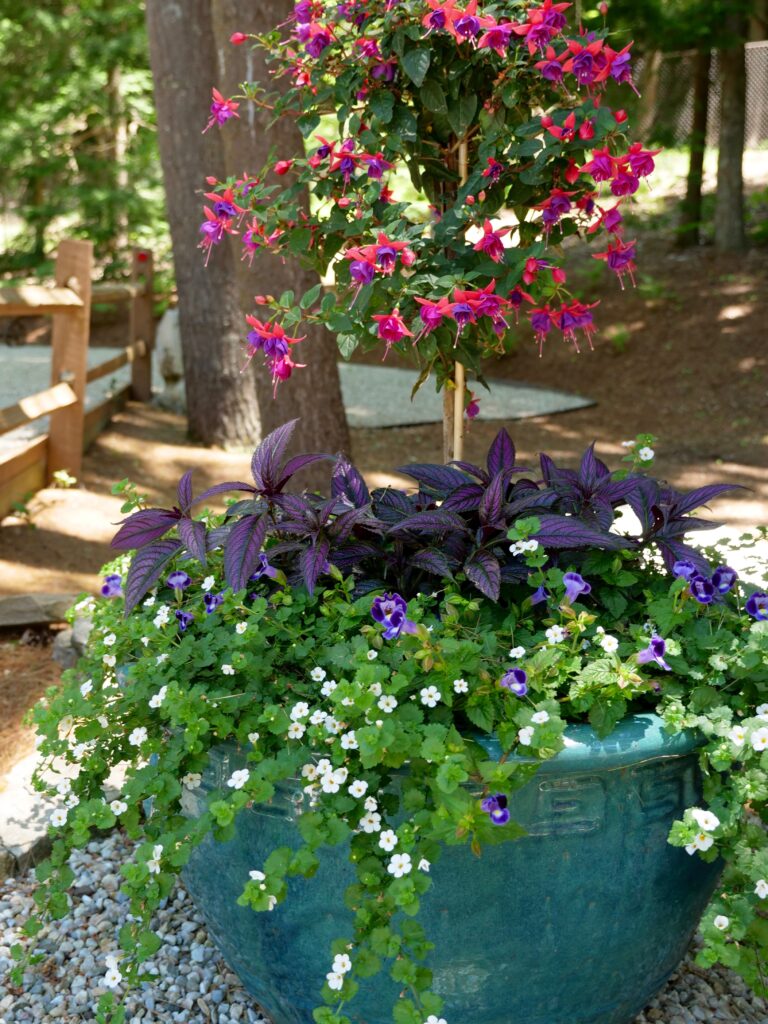
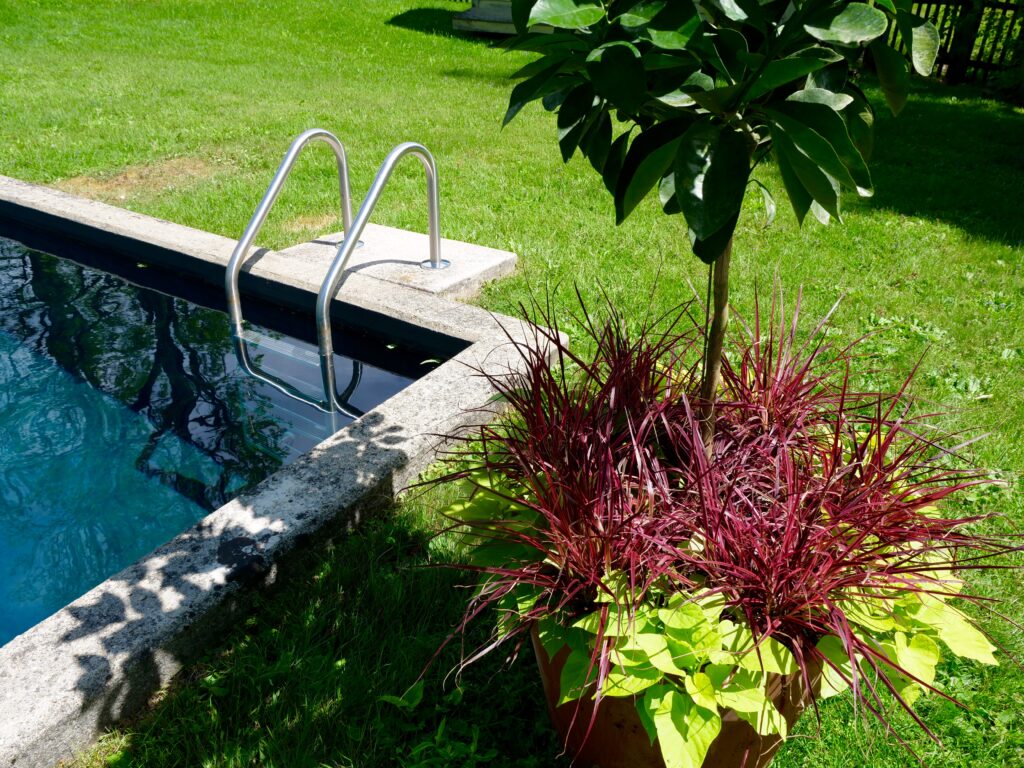
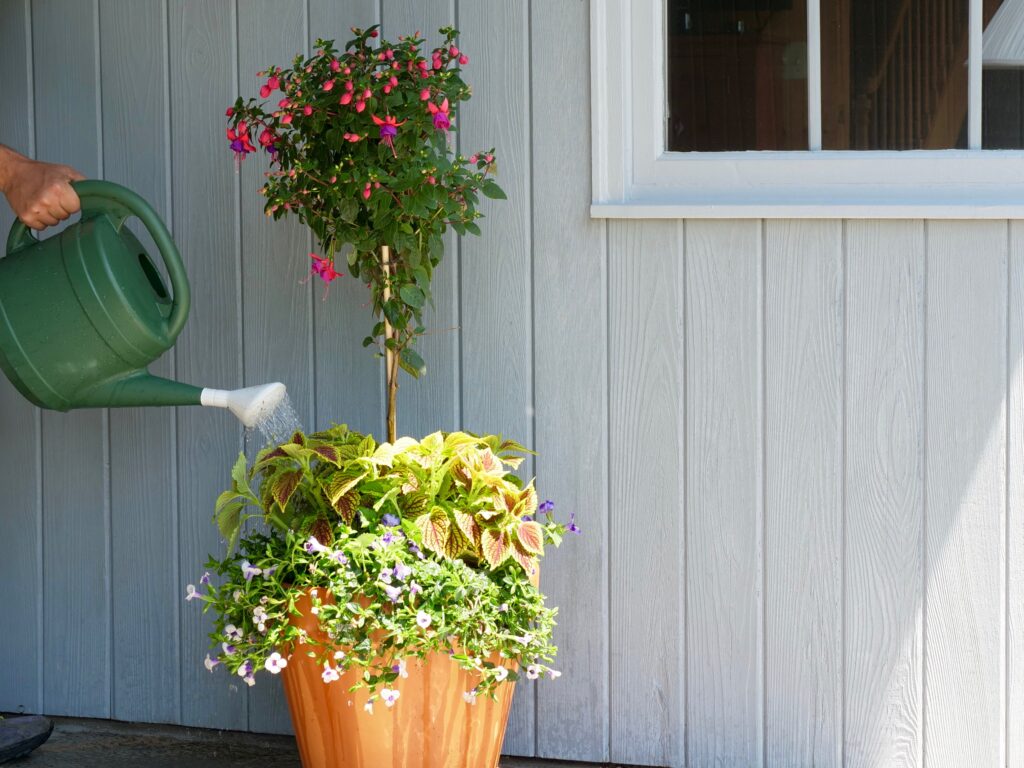
A THRILLER +A FILLER + A SPILLER = A Well-Balanced Pot
Your THRILLER is going to be tall, prominent, and provide a WOW-factor
Your FILLER will be a low-medium growing plant that complements your thriller
And finally, your SPILLER will be a hanging, crawling variety for a finishing touch.
COLOR PLAY!
Watch Generoso, owner and founder of Berkshire Greenscapes, explain the thriller, filler and spiller design concept in the video below:
Designing with thrillers, fillers and spillers is a great start, but you can always deviate from the rule. Try incorporating two fillers—or two spillers—that mesh really well together for even more complex look.
We always like to keep a look of simplicity for the best effect, so we don’t go too overboard with too many different plants. But get creative and design what looks great to you!
More Design Options
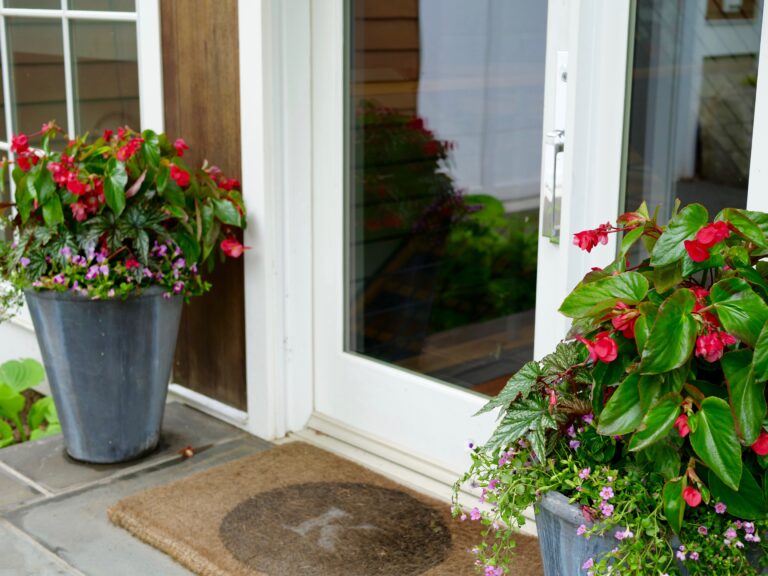
Another simple summer pot design option is to design a grouping of pots—all with a singular plant.
This way, you also have an interesting layered look of a variety of plants, but spanning across a greater area.
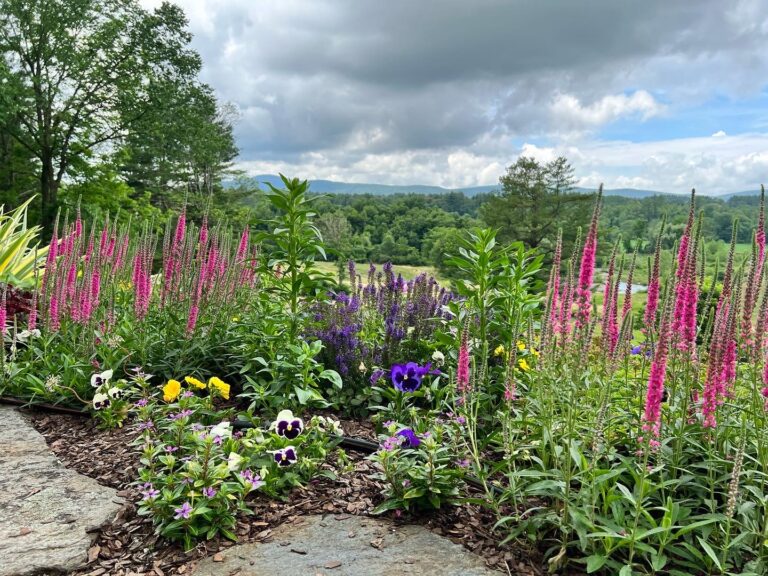
Our favorite tip? Design with FOLIAGE—not just flowers. You can find vibrant, beautiful grasses, vines and more to add color to your pots.
CHECK OUT THAT COLOR CONTRAST!
Your Final Step
Your final step is to plant these babies! Once you have your pot where you would like it, you should scatter some rocks on the bottom to help with drainage. Then, you can fill the pot most of the way with your potting soil, add any soil amendments, and add more soil—JUST enough so that you still have room to arrange your plants inside the pot. We like to arrange the plants, and then fill in the soil around the plants.
Our Parting Notes
We hope we’ve inspired you and given you the knowledge to go ahead and get planting some fun summer pots! You’ll be sure to enjoy the sight of your colorful pot for the entire summer season. Our one last piece of advice?
